
Getting started
Invite your team
Add teammates and choose the right role for each.
Inviting a teammate
A Chatz workspace is built for a team from day one: every seat on your plan is another person who can answer customers, build flows or manage settings, depending on the role you give them.
- Open MembersGo to Settings, then Members, under the Workspace group.
- Invite by emailEnter the person's email address and choose a role for them.
- They accept and sign inThe invitee gets an email, sets a password (or continues with Google or Apple), and lands in the same workspace with the role you chose.
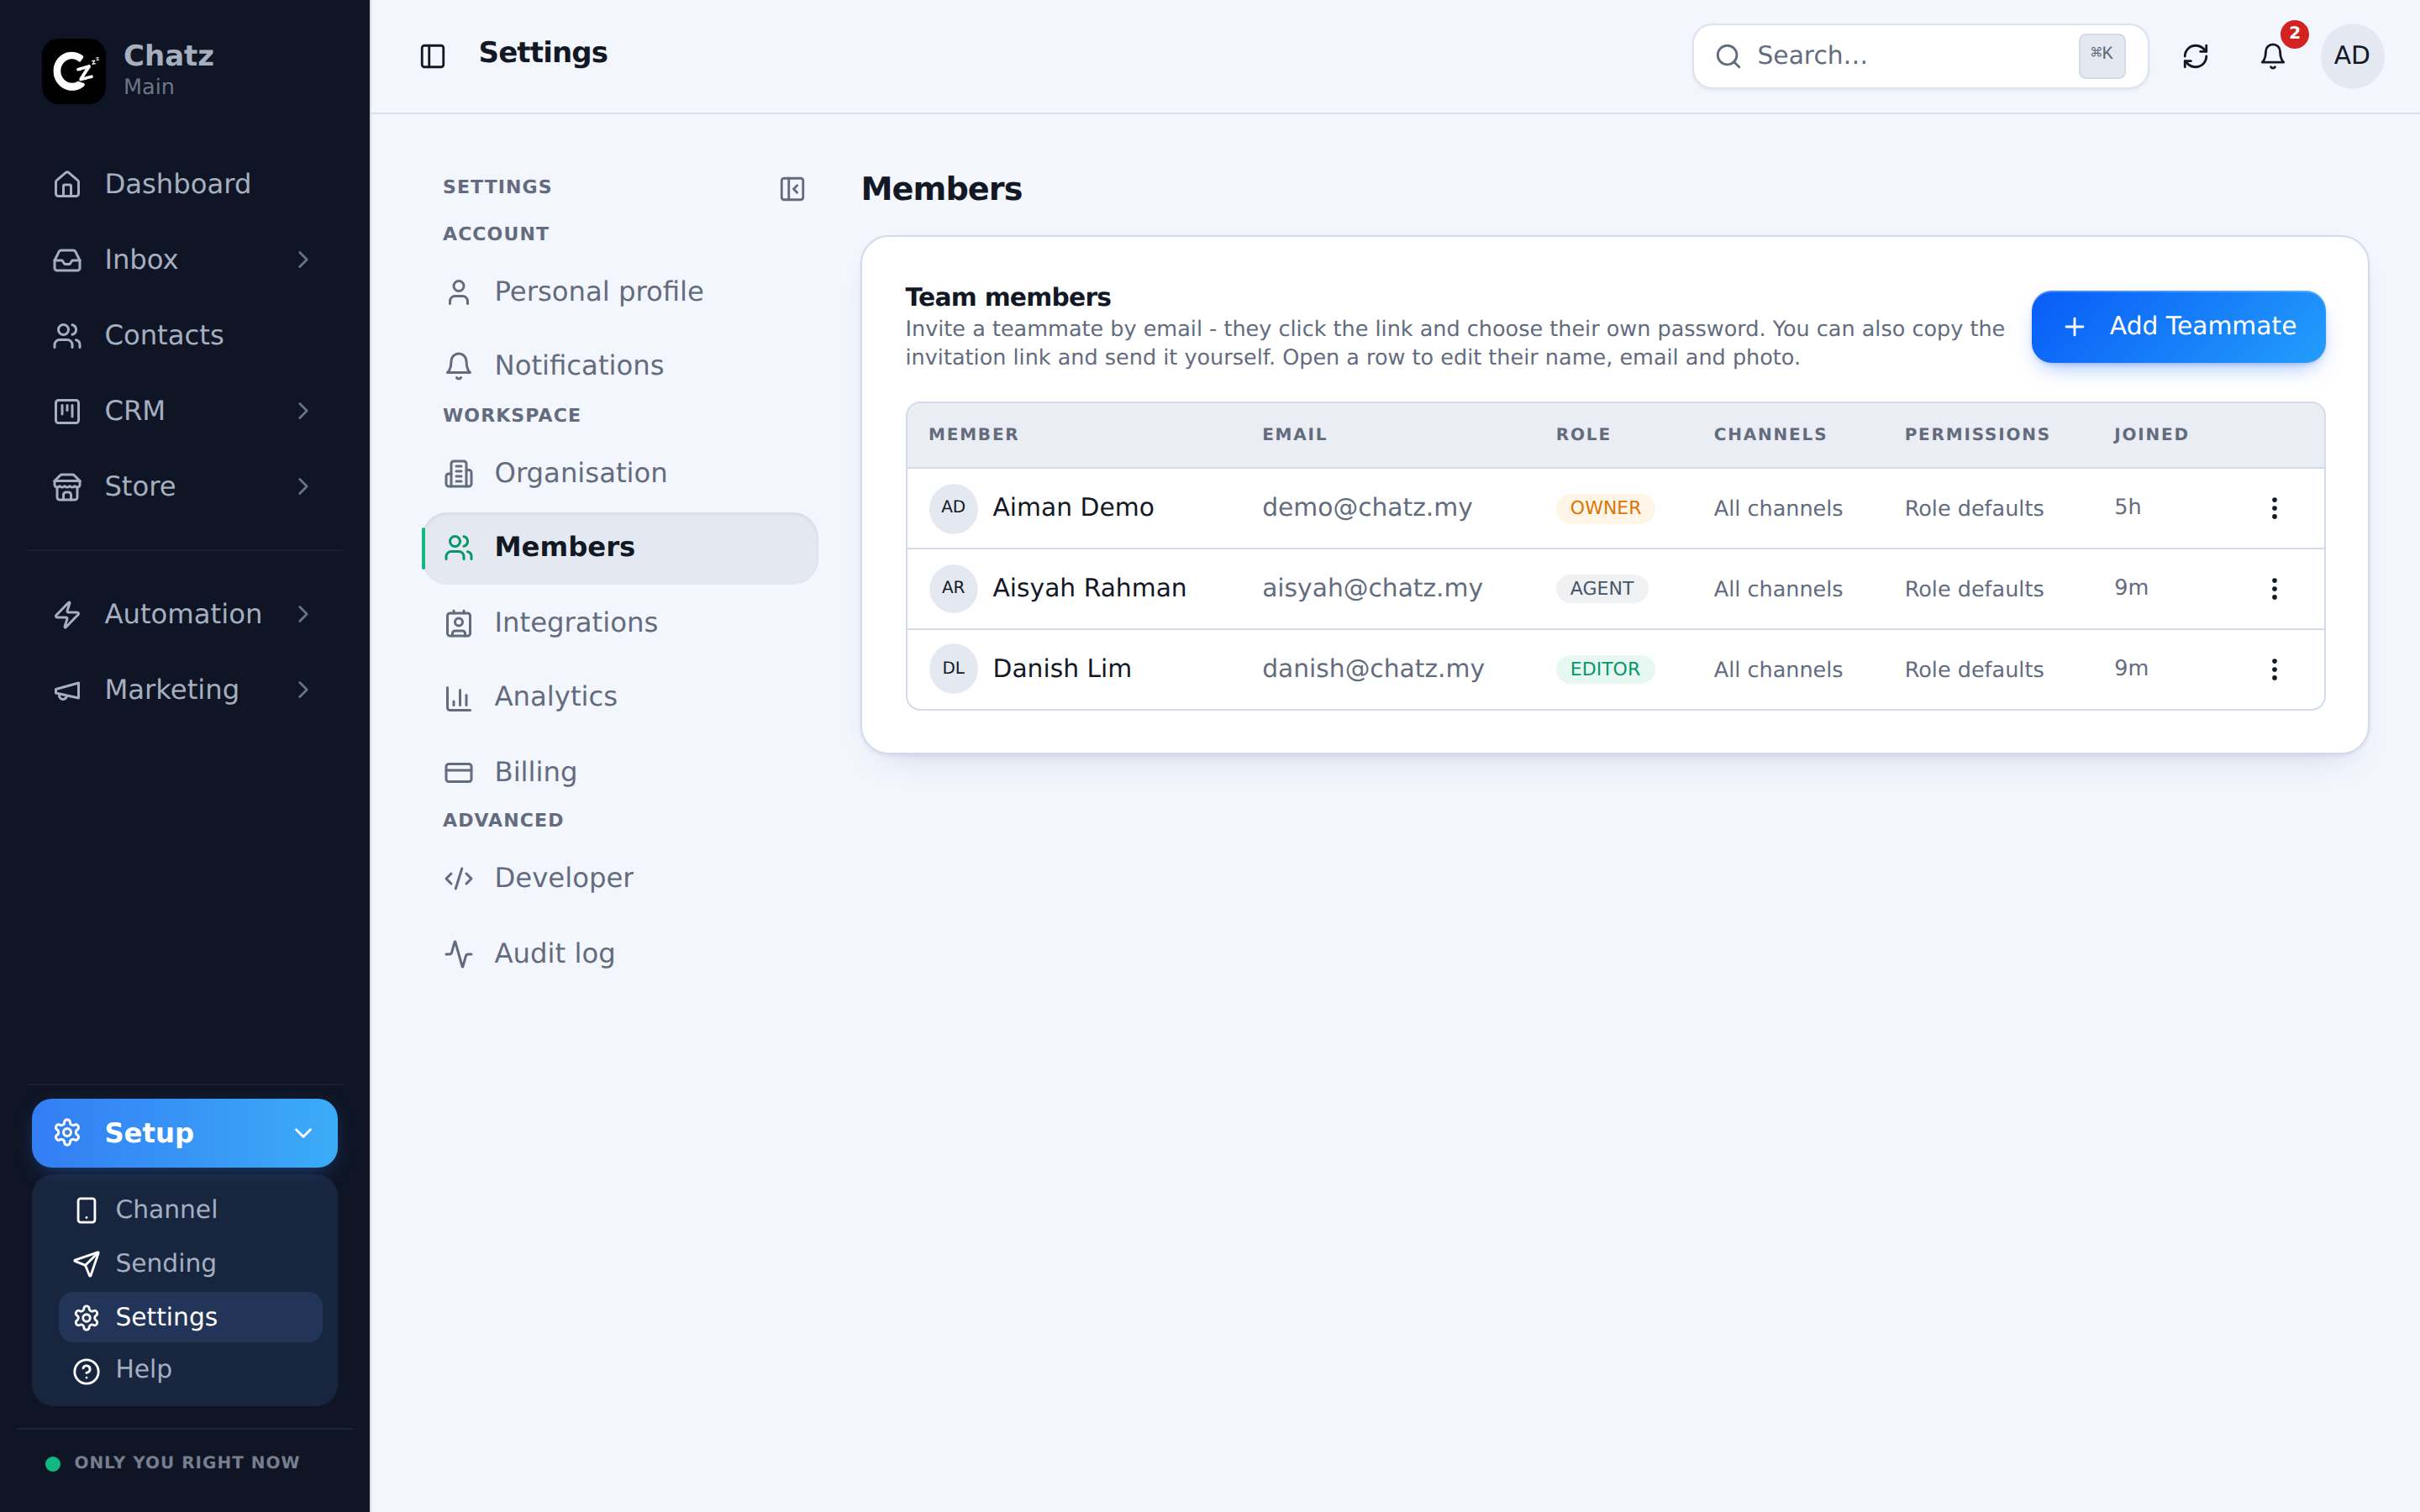
The four roles
Roles decide what a member can see and change. The server enforces every one of these, even though the interface also hides buttons a member cannot use, so a role is a real boundary and not just a tidier menu. See Members and roles for the full picture, including how ownership transfers.
| Role | Can do |
|---|---|
| Owner | Full control of the workspace. Cannot be removed by anyone else, only by leaving on their own. |
| Admin | Manage settings, channels and members. Cannot transfer ownership. |
| Editor | Build flows, broadcasts and templates. No access to member management. |
| Agent | Reply to conversations and manage the tickets assigned to them, nothing else. |
Per-channel access
Beyond the role, each member's access can be scoped to specific channels. A business running several WhatsApp numbers, or a channel per brand, can give an agent visibility into only the conversations from their own channel rather than every inbox in the workspace. Set this alongside the role when you invite someone, or edit it later from the same Members page.